I think everyone in the web development process was faced with the need to add a confirm dialog when performing some operation on the site. In this article, I want to write how to add and make an attractive confirm dialog in your Rails apps.
In Ruby on Rails, we have a confirm dialog out of the box, it's a very useful feature because you have the opportunity to easily and quickly create confirmation for some action in your site. In default Rails used for this standard JavaScript confirm (you can read about it in the documentation)
For using this feature you need only include in your application.js file rails ujs. For Rails 6 it seems to be like this:
require("@rails/ujs").start();
And in the view you need to write something like this:
= link_to 'Action', '#link-to-some-page', data: { confirm: 'Are you sure?' }
And that's all, after clicking to this link you will see confirm dialog.
In most cases, this implementation will suffice, but what about if you want to implement different widgets instead of JavaScript confirm, something more attractive?
It's very easy, for example, we want to use SweetAlert2. How we can use it instead of standard dialog?
Firstly we can add to our project gem with a ready-made implementation to our project - sweet-alert2-rails. But in this case, we have a few troubles. First of all, you need to add in your project 2 dependencies, that's why in the future you have a chance to headache when you going to upgrade your project to a new version (or upgrade some gems). In the second, why I don't recommend you use this gem, it's because it doesn't maintain for a long time. In a Ruby on Rails 5, it's should work, but in 6 versions you possibly have some troubles.
Okay, you can ask a reasonable question - What I should do to avoid it?
It's simple, you can do it yourself.
Step #1. We should add SweetAlert2 to our package.json and run yarn install.
{
"name": "ExampleApp",
"private": true,
"dependencies": {
"@rails/ujs": "^6.0.0",
"@rails/webpacker": "4.2.2",
"@rails/activestorage": "^6.0.0",
"@rails/actioncable": "^6.0.0",
"sweetalert2": "^9.10.11",
"yarn": "^1.22.4"
},
"version": "0.1.0",
"devDependencies": {
"webpack-dev-server": "^3.9.0"
}
}
Step #2. Open your rails application and move to app/javascript folder.
Now we need to create a new folder for our script. For example, it's can be application,
after that create in this folder a JavaScript file sweet-alert-confirm.js.
Step #3. Add the template of our component.
import Swal from 'sweetalert2';
import Rails from '@rails/ujs';
window.Swal = Swal;
// Behavior after click to confirm button
const confirmed = (element, result) => {
};
// Display the confirmation dialog
const showConfirmationDialog = (element) => {
console.log('Hello world!');
};
const allowAction = (element) => {
if (element.getAttribute('data-confirm-swal') === null) {
return true;
}
showConfirmationDialog(element);
return false;
};
function handleConfirm(element) {
if (!allowAction(this)) {
Rails.stopEverything(element);
}
}
Rails.delegate(document, 'a[data-confirm-swal]', 'click', handleConfirm);
Step #4. Include created file to app/javascript/packs/application.js.
// This file is automatically compiled by Webpack, along with any other files
// present in this directory. You're encouraged to place your actual application logic in
// a relevant structure within app/javascript and only use these pack files to reference
// that code so it'll be compiled.
require("@rails/ujs").start();
require("@rails/activestorage").start();
require("channels");
import 'application/sweet-alert-confirm';
Now we have the opportunity to check results. Open any view file and add a link.
= link_to 'Action', '#link-to-some-page', data: { confirm_swal: '' }
After clicking to this link you can see in the console "Hello world!", nice! Let's implement an opening confirm window.
Step #5. Put in showConfirmationDialog next code.
const message = element.getAttribute('data-confirm-swal');
const text = element.getAttribute('data-text');
Swal.fire({
title: message || 'Are you sure?',
text: text || '',
icon: 'warning',
showCancelButton: true,
confirmButtonText: 'Yes',
cancelButtonText: 'Cancel',
});
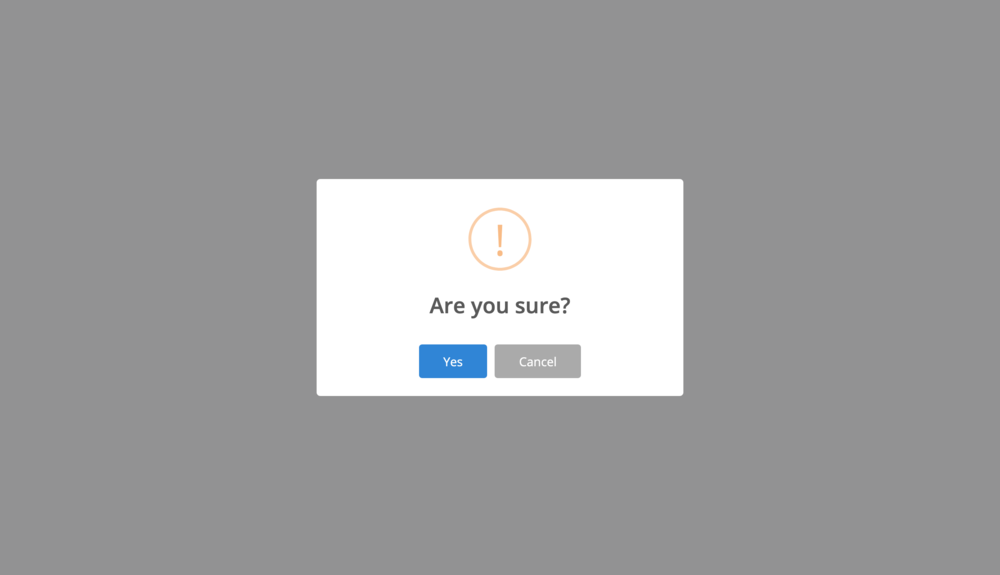
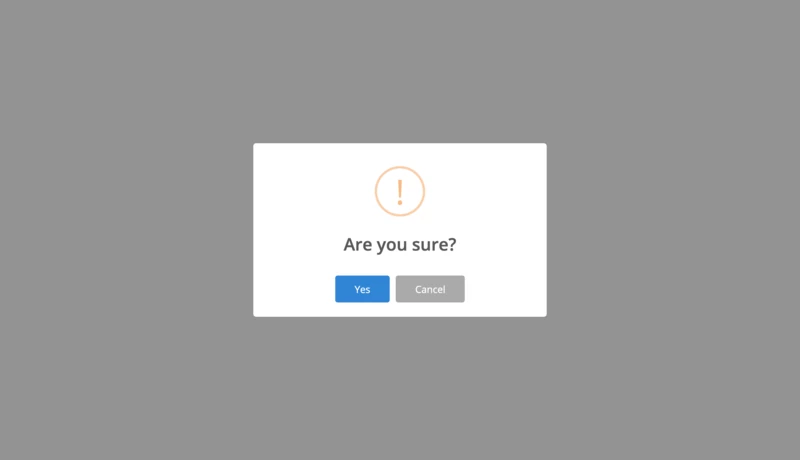
Reload the page with our link and let's try to check what happened. If you make all right you must see opened SweetAlert popup window with the message "Are you sure?".
But if you click to the "Yes" button nothing happened, it's happened because we didn't implement a callback function for the confirm button. Let's make this.
Step #6. Add callback function for Swal.
How it's done, you can see in SweetAlert documentation, it will be like this:
const message = element.getAttribute('data-confirm-swal');
const text = element.getAttribute('data-text');
Swal.fire({
title: message || 'Are you sure?',
text: text || '',
icon: 'warning',
showCancelButton: true,
confirmButtonText: 'Yes',
cancelButtonText: 'Cancel',
}).then(result => confirmed(element, result));
After that we must add confirm behavior, for this, we need to change the confirmed function.
const confirmed = (element, result) => {
// If result `success`
it (result.value); {
// Removing attribute for unbinding JS event.
element.removeAttribute('data-confirm-swal');
// Following a destination link
element.click();
}
};
Okay, we created a confirmation window for basic links or buttons, but in the real world, we want to make some action without page reload. Whether it's order confirmation or sending a message.
Let's improve the implementation and add sending AJAX requests. For this we should change the confirmed function like in the next example:
const confirmed = (element, result) => {
if (result.value) {
if (!!element.getAttribute('data-remote')) {
let reloadAfterSuccess = !!element.getAttribute('data-reload');
$.ajax({
method: element.getAttribute('data-method') || 'GET',
url: element.getAttribute('href'),
dataType: 'json',
success: function(result) {
Swal.fire('Success!', result.message || '', 'success')
.then((_result) => {
if (reloadAfterSuccess) {
window.location.reload();
}
});
},
error: function(xhr) {
let title = 'Error!';
let message = 'Something went wrong. Please try again later.';
if (xhr.responseJSON && xhr.responseJSON.message) {
message = xhr.responseJSON.message;
}
Swal.fire(title, message,'error');
}
});
} else {
element.removeAttribute('data-confirm-swal');
element.click();
}
}
};
And modify a link
= link_to 'Action', '#link-to-some-page', data: { confirm_swal: '', remote: true, method: 'POST' }
Let's try what it does, how we can see now our link make AJAX request with the POST method. It's very helpful if you want to link to publish or delete posts. All that you need it to make backend action and add to the link request method.
For example, backend action can look like:
def destroy
post = Post.find(params[:id])
post.destroy!
render json: { message: "Post ##{post.id} successfully deleted!" }
rescue ActiveRecord::RecordNotDestroyed
render json: { message: 'Oops, something went wrong!' }, status: :internal_server_error
end
It's was very simple, right? That all that I want to say in this article, if necessary you have the opportunity to make this component better, add a loader or something else, as you wish :)
And I think will be nice to show the final code of the component.
import Swal from 'sweetalert2';
import Rails from '@rails/ujs';
window.Swal = Swal;
// Behavior after click to confirm button
const confirmed = (element, result) => {
if (result.value) {
if (!!element.getAttribute('data-remote')) {
let reloadAfterSuccess = !!element.getAttribute('data-reload');
$.ajax({
method: element.getAttribute('data-method') || 'GET',
url: element.getAttribute('href'),
dataType: 'json',
success: function(result) {
Swal.fire('Success!', result.message || '', 'success')
.then((_result) => {
if (reloadAfterSuccess) {
window.location.reload();
}
});
},
error: function(xhr) {
let title = 'Error!';
let message = 'Something went wrong. Please try again later.';
if (xhr.responseJSON && xhr.responseJSON.message) {
message = xhr.responseJSON.message;
}
Swal.fire(title, message,'error');
}
});
} else {
element.removeAttribute('data-confirm-swal');
element.click();
}
}
};
// Display the confirmation dialog
const showConfirmationDialog = (element) => {
const message = element.getAttribute('data-confirm-swal');
const text = element.getAttribute('data-text');
Swal.fire({
title: message || 'Are you sure?',
text: text || '',
icon: 'warning',
showCancelButton: true,
confirmButtonText: 'Yes',
cancelButtonText: 'Cancel',
}).then(result => confirmed(element, result));
};
const allowAction = (element) => {
if (element.getAttribute('data-confirm-swal') === null) {
return true;
}
showConfirmationDialog(element);
return false;
};
function handleConfirm(element) {
if (!allowAction(this)) {
Rails.stopEverything(element);
}
}
Rails.delegate(document, 'a[data-confirm-swal]', 'click', handleConfirm);
I hope this article was helpful in your task, good luck!